


Welcome to thoughtful, organic beauty
Hello Joyous is an organic, plant-based, sustainable beauty brand here to bring more joy to your day.


I was first introduced to the idea of making my own ghee when I went to nutrition school at IHN over a decade ago. I remember my teacher talking about ghee as a great option instead of butter for those who are sensitive to dairy because the milk proteins (casein and whey) are removed in the ghee-making-process, but I'd only ever thought of ghee as something tasty I'd enjoyed when having Indian food.
Even though it seems that ghee is a trendy food, it has been around for thousands of years and usage dates back to 2000 B.C. originating somewhere in Asia and used in Ayurveda as a therapeutic food. In ancient India, ghee was the preferred cooking oil. Just like many other foods, ghee may have been created completely by accident, like many fermented foods.
Many Ayurvedic preparations are made by cooking herbs into ghee. This is a great idea! Whether it's turmeric , rosemary, oregano or dried basil -- all herbs are powerful superfoods.
The benefit of this is that the phytonutrients present in these herbs will be more readily absorbed into the body in the presence of fat (aka nutrient synergy!)
This is common sense really when you think that every cell in your entire body has a lipid (fat) layer. Therefore, eating fat with phytonutrients enhances their delivery at a cellular level.
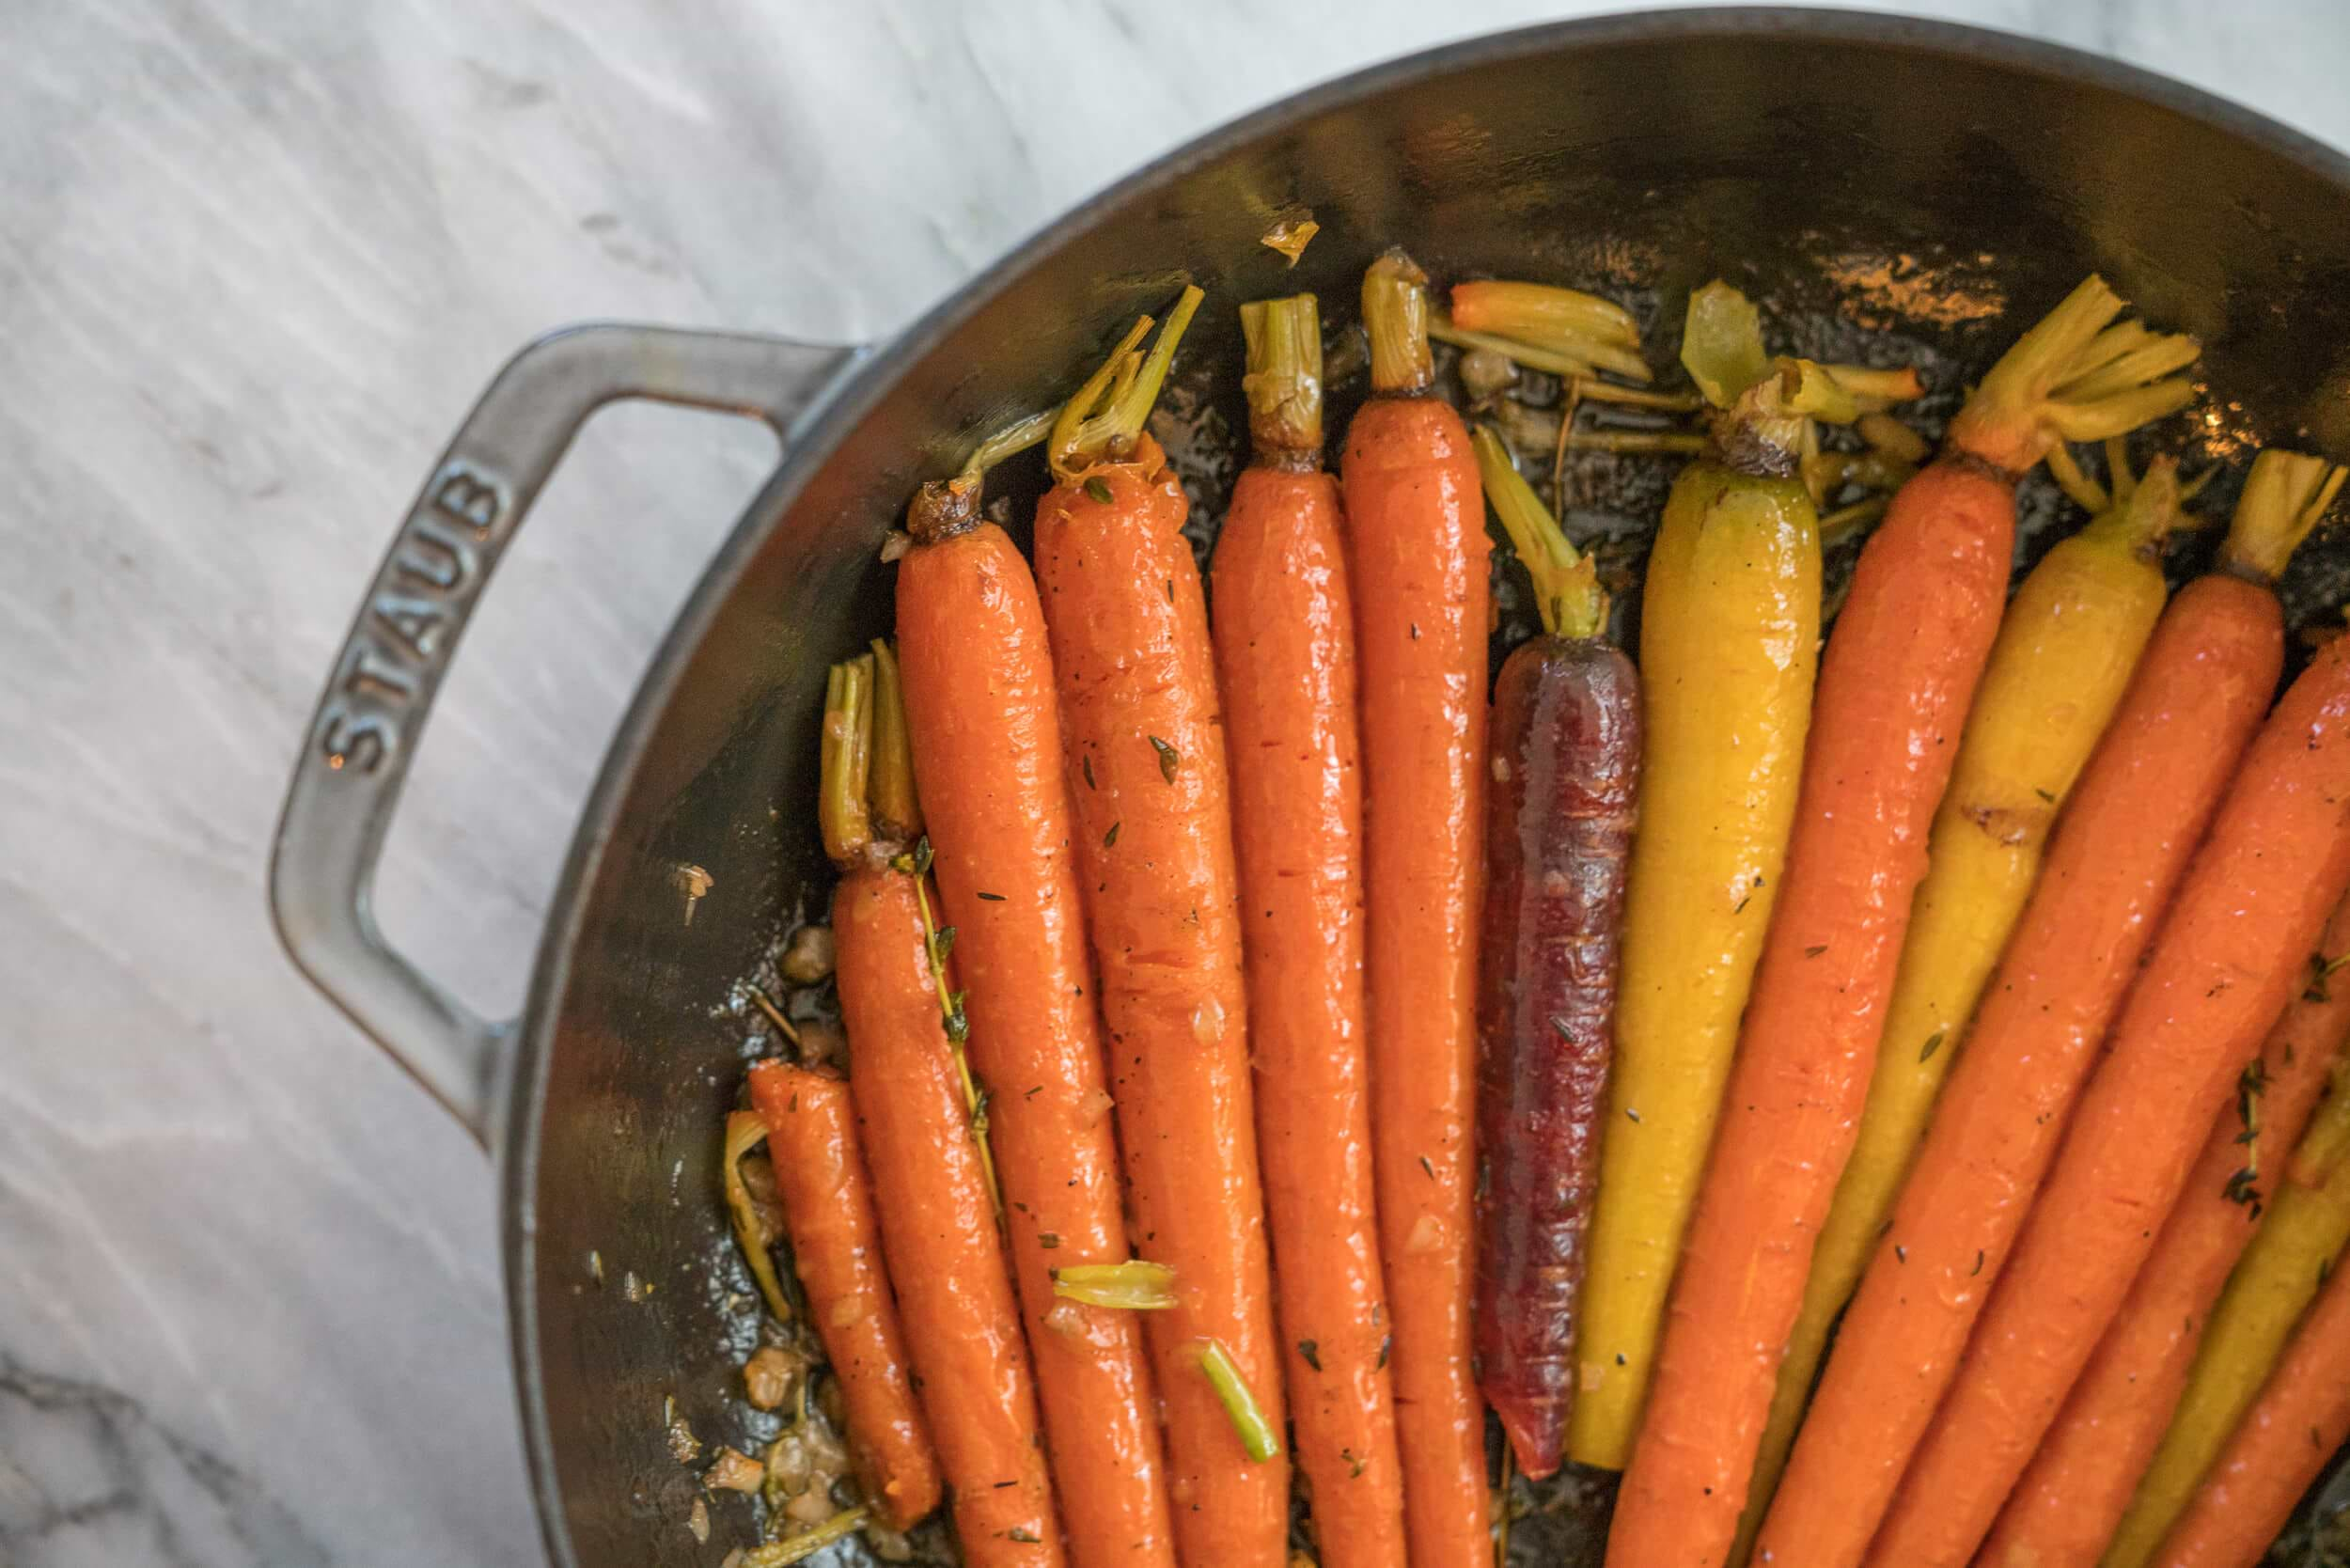
Ghee has many health benefits and has been sadly demonized for decades due to its saturated fat content. However, consuming it moderately, as is the case when using ghee to make my Sticky Carrots or mixing it into your scrambled eggs, has well-researched health benefits.
ADVERTISEMENT

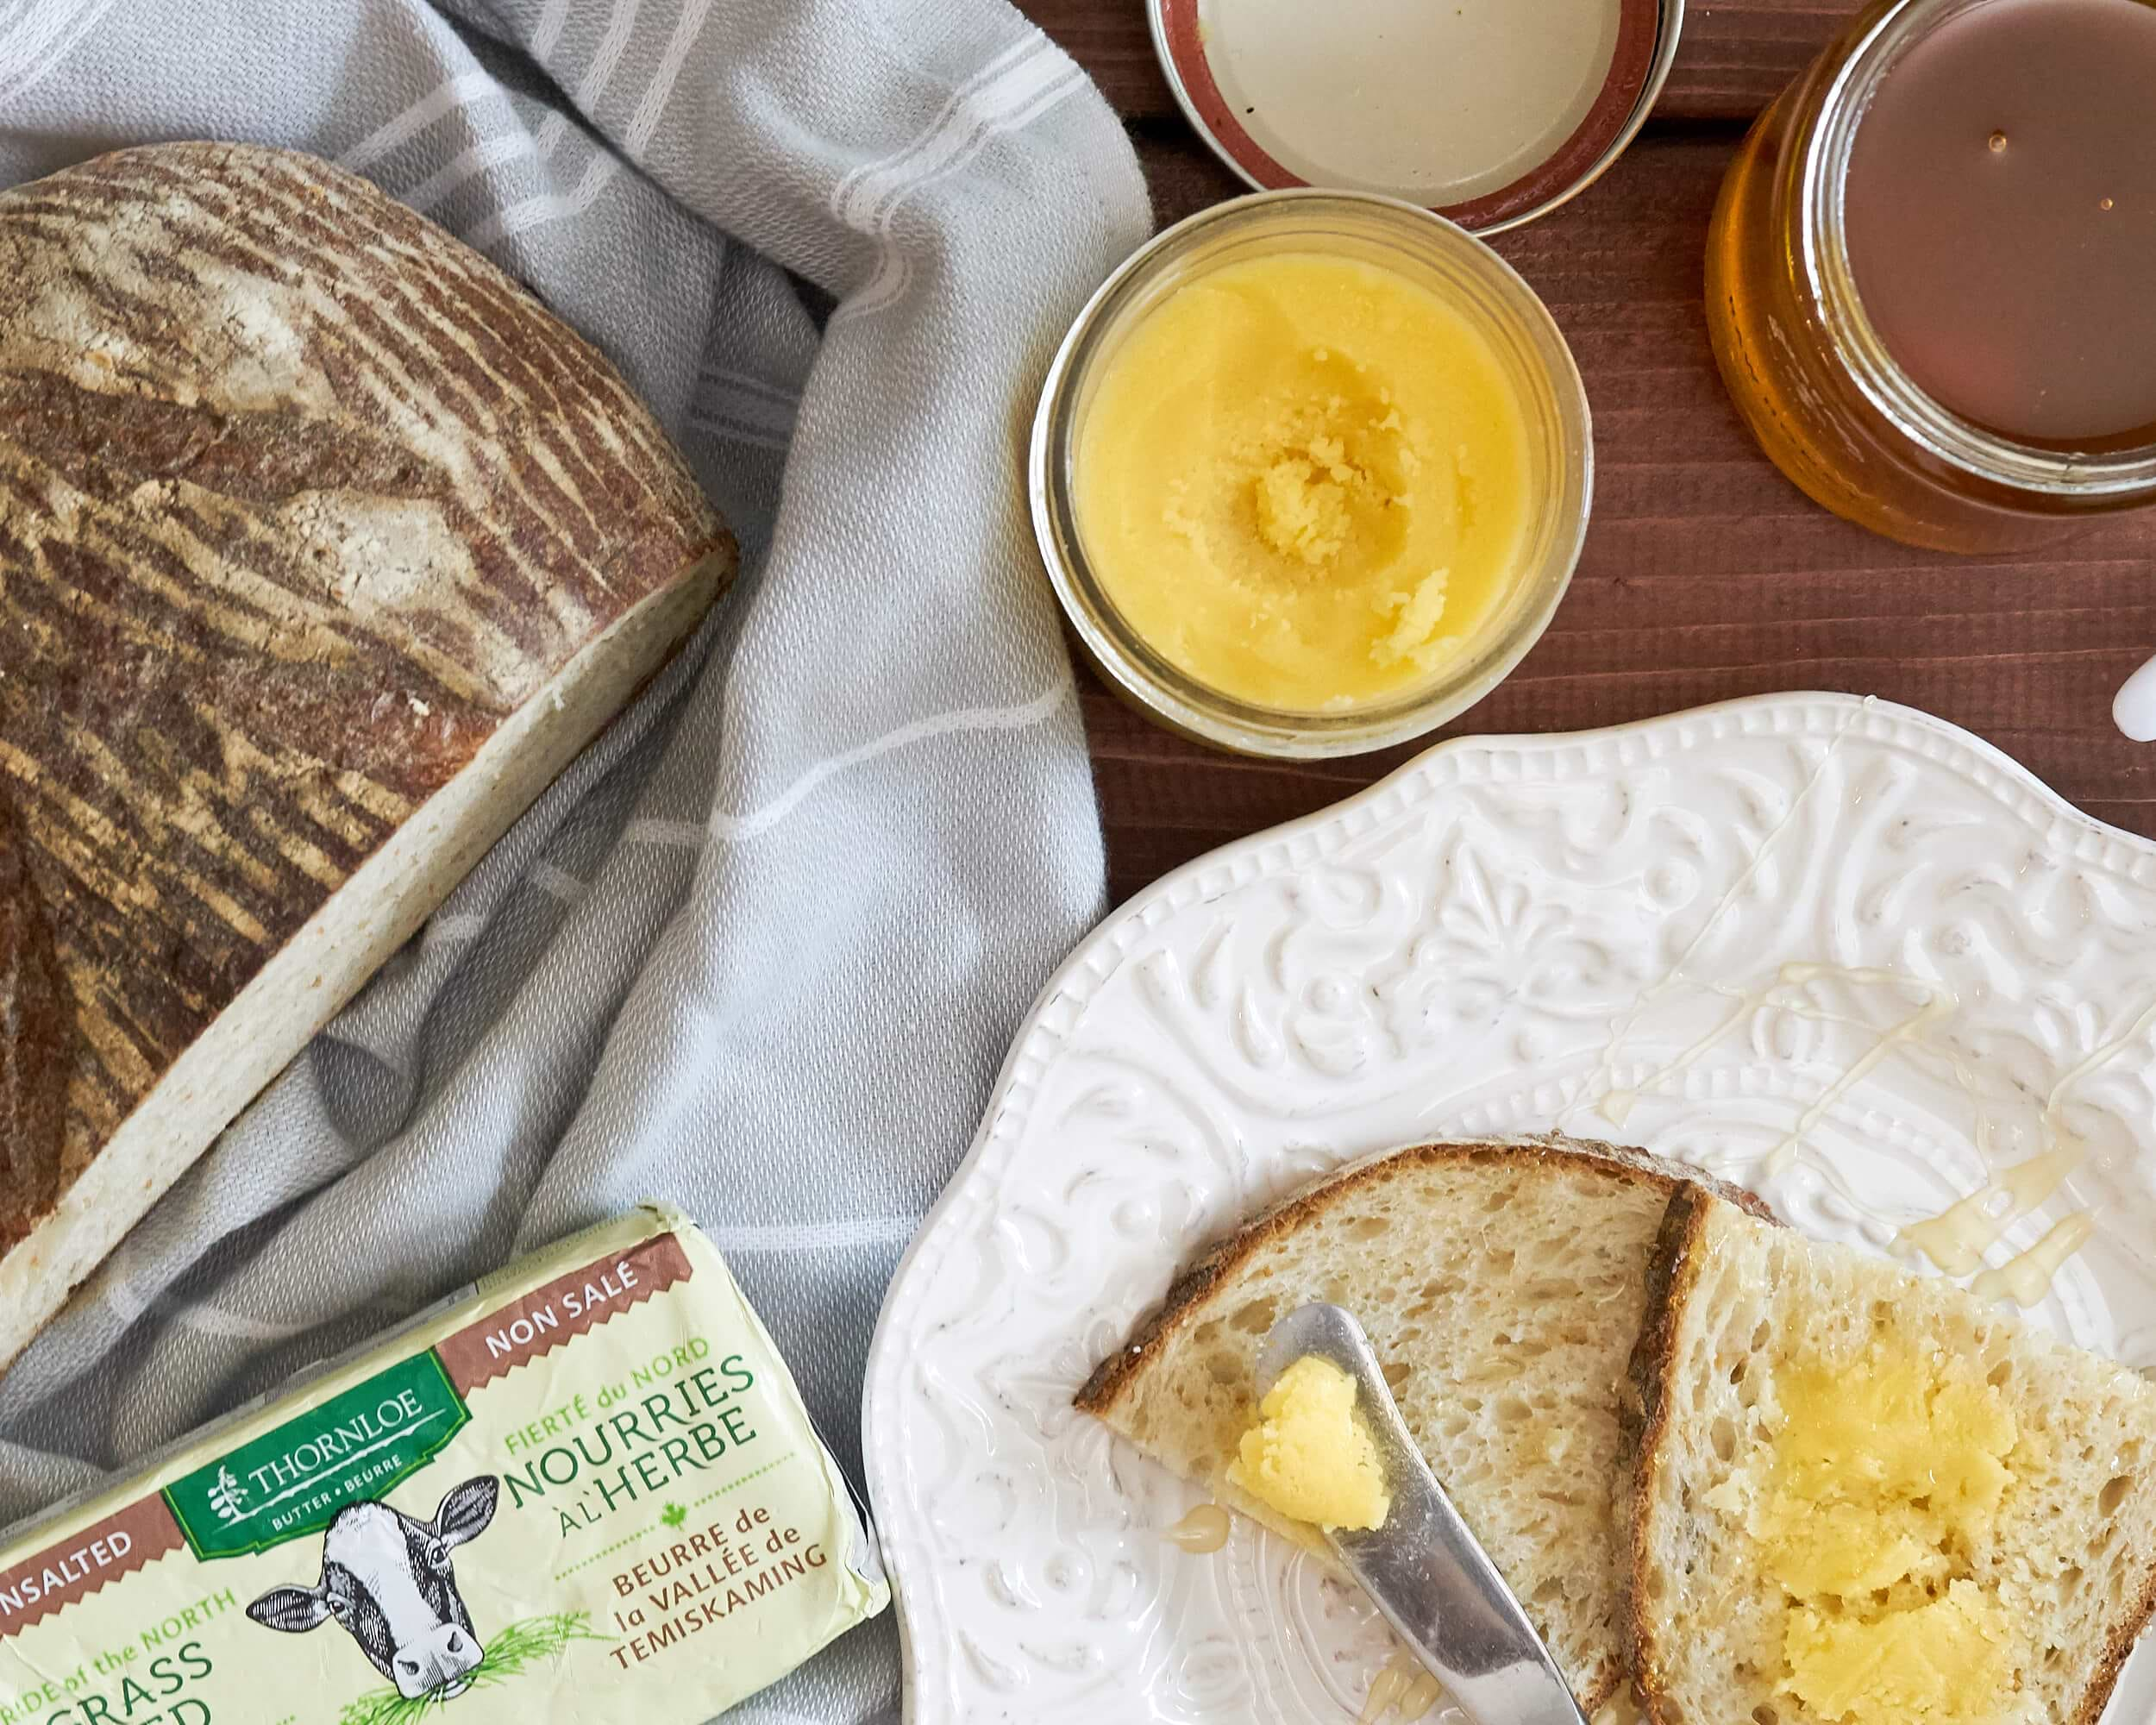
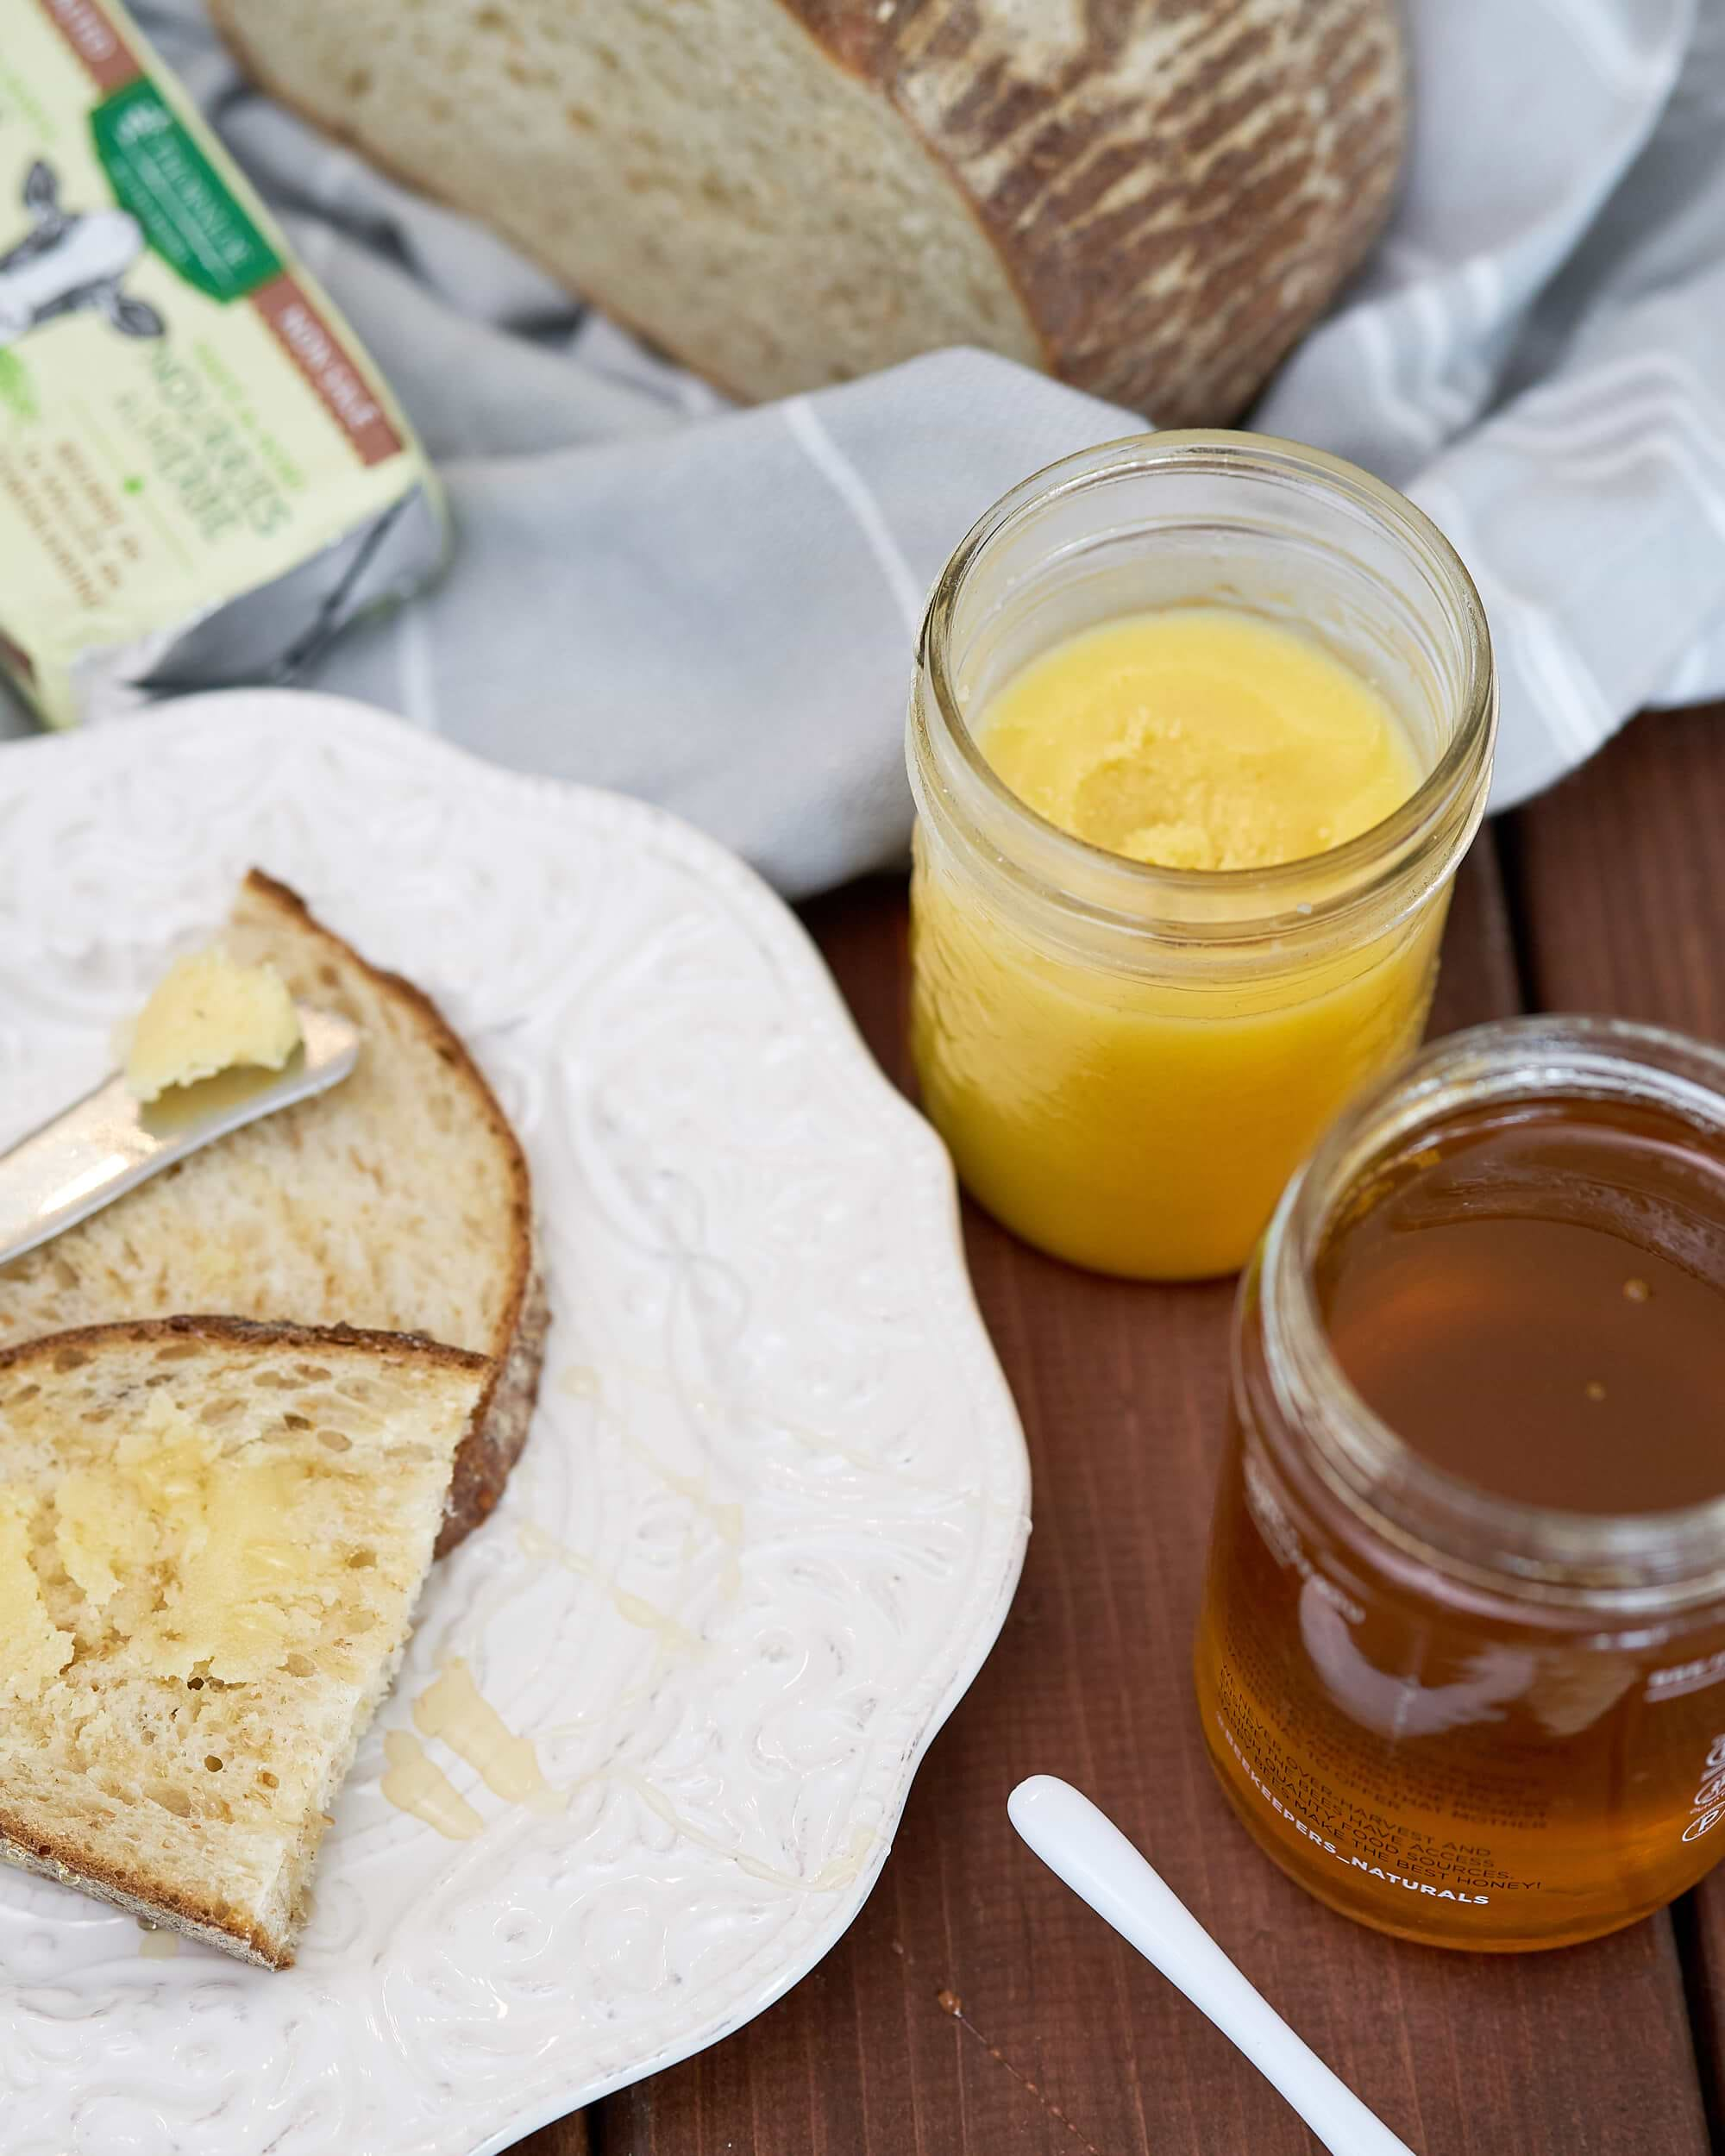
I've also made my Rustic Galette crust with ghee and it worked just as well as butter. Be sure to check out all the uses for ghee at the bottom of this post. I personally use ghee for 4 to 5 meals out of the week. My daughter Vienna loves it too!
GHEE NUTRITION
Ghee (especially when made from grass-fed butter) is a great source of fat soluble nutrients including vitamins A, D, E and K2. Vitamin K2, as I talk about in this video, is incredible for bone health. It helps your bones keep the calcium which is important because you don't want calcium floating around in your arteries. As I talk about in my video below, it's a rich source of butyrate which is an incredible anti-inflammatory substance for gut health and can help prevent colitis and Crohn's.
Let's get back to ghee-making! I make ghee when I find grass-fed butter on sale, but sometimes I purchase store-bought ghee too, especially when I don't feel like making it. If you're choosing between organic butter and grass-fed to make ghee, my preference is grass-fed because it's more nutrient-dense than grain-fed. The same goes for grass-fed beef when buying meat.
It's more expensive, for sure, but ideally, cows should be grazing on a pasture when there is grass available to eat, as opposed to eating 100% grains. Eating grains will produce more omega-6 fatty acids and eating more grass will produce more omega-3 fatty acids in the animal. If there is no grass-fed butter or meat available, then my second choice would always be organic.
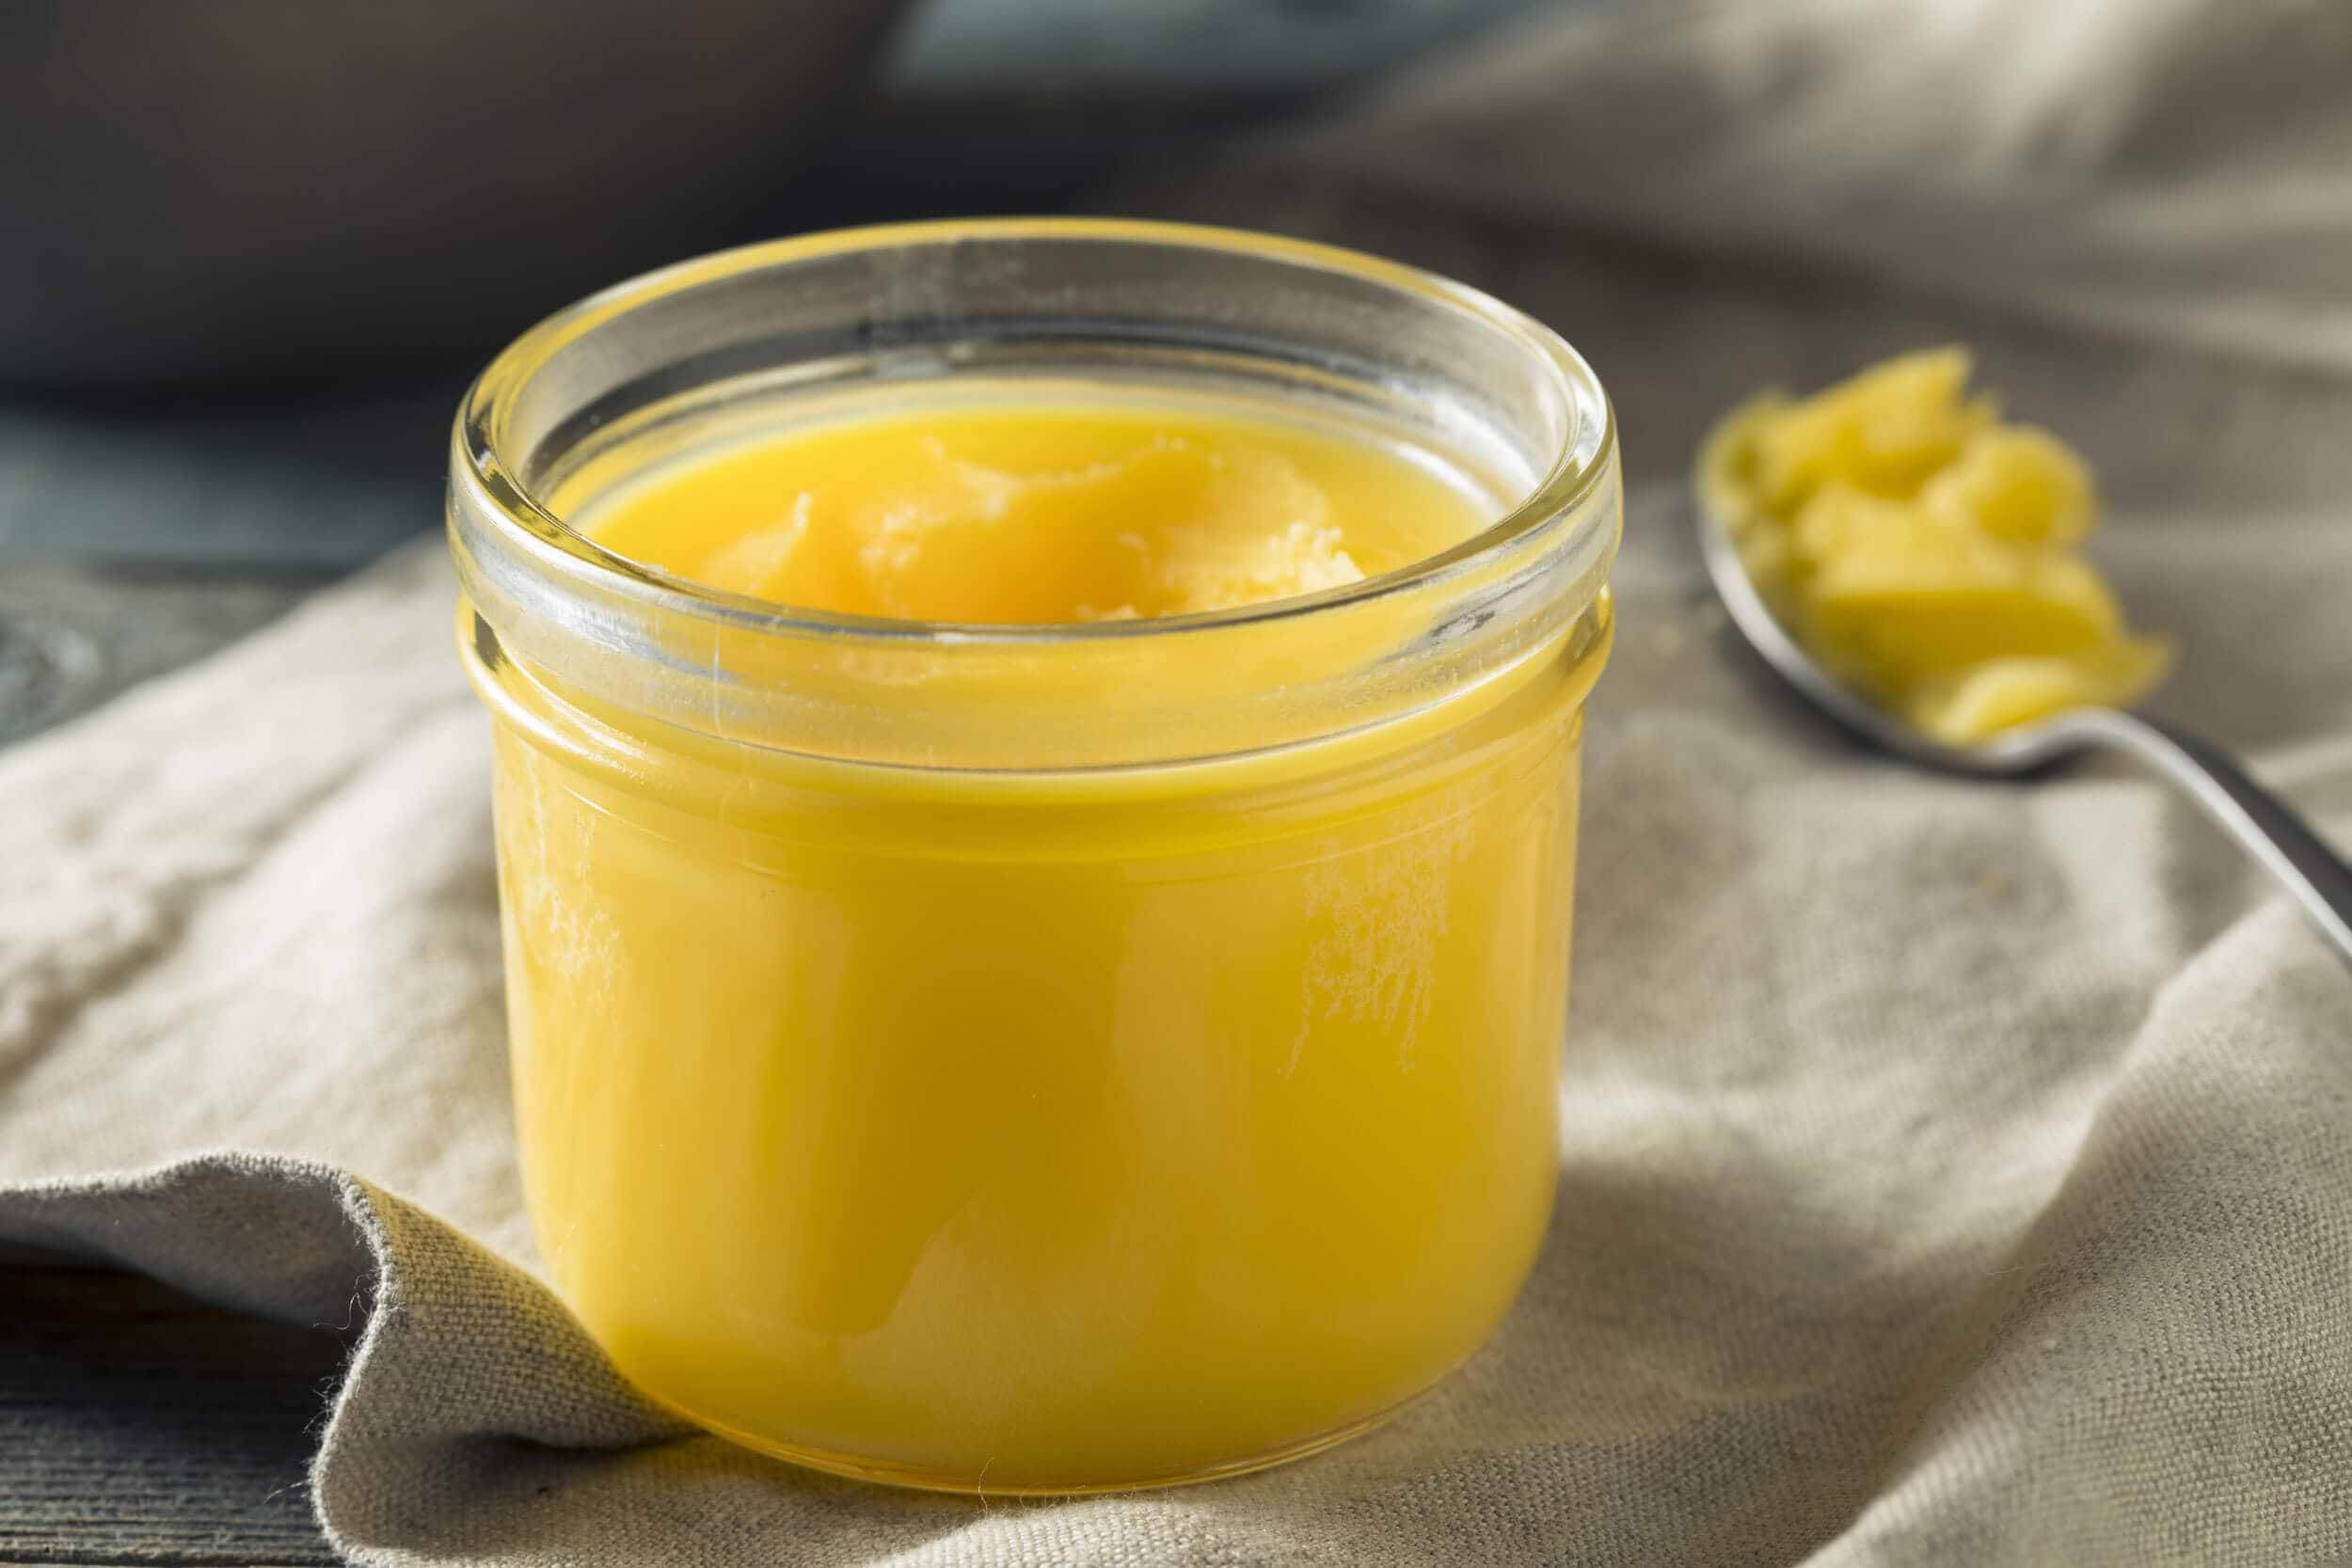
"Ghee" and "clarified butter" are often used interchangably but there is a slight difference.
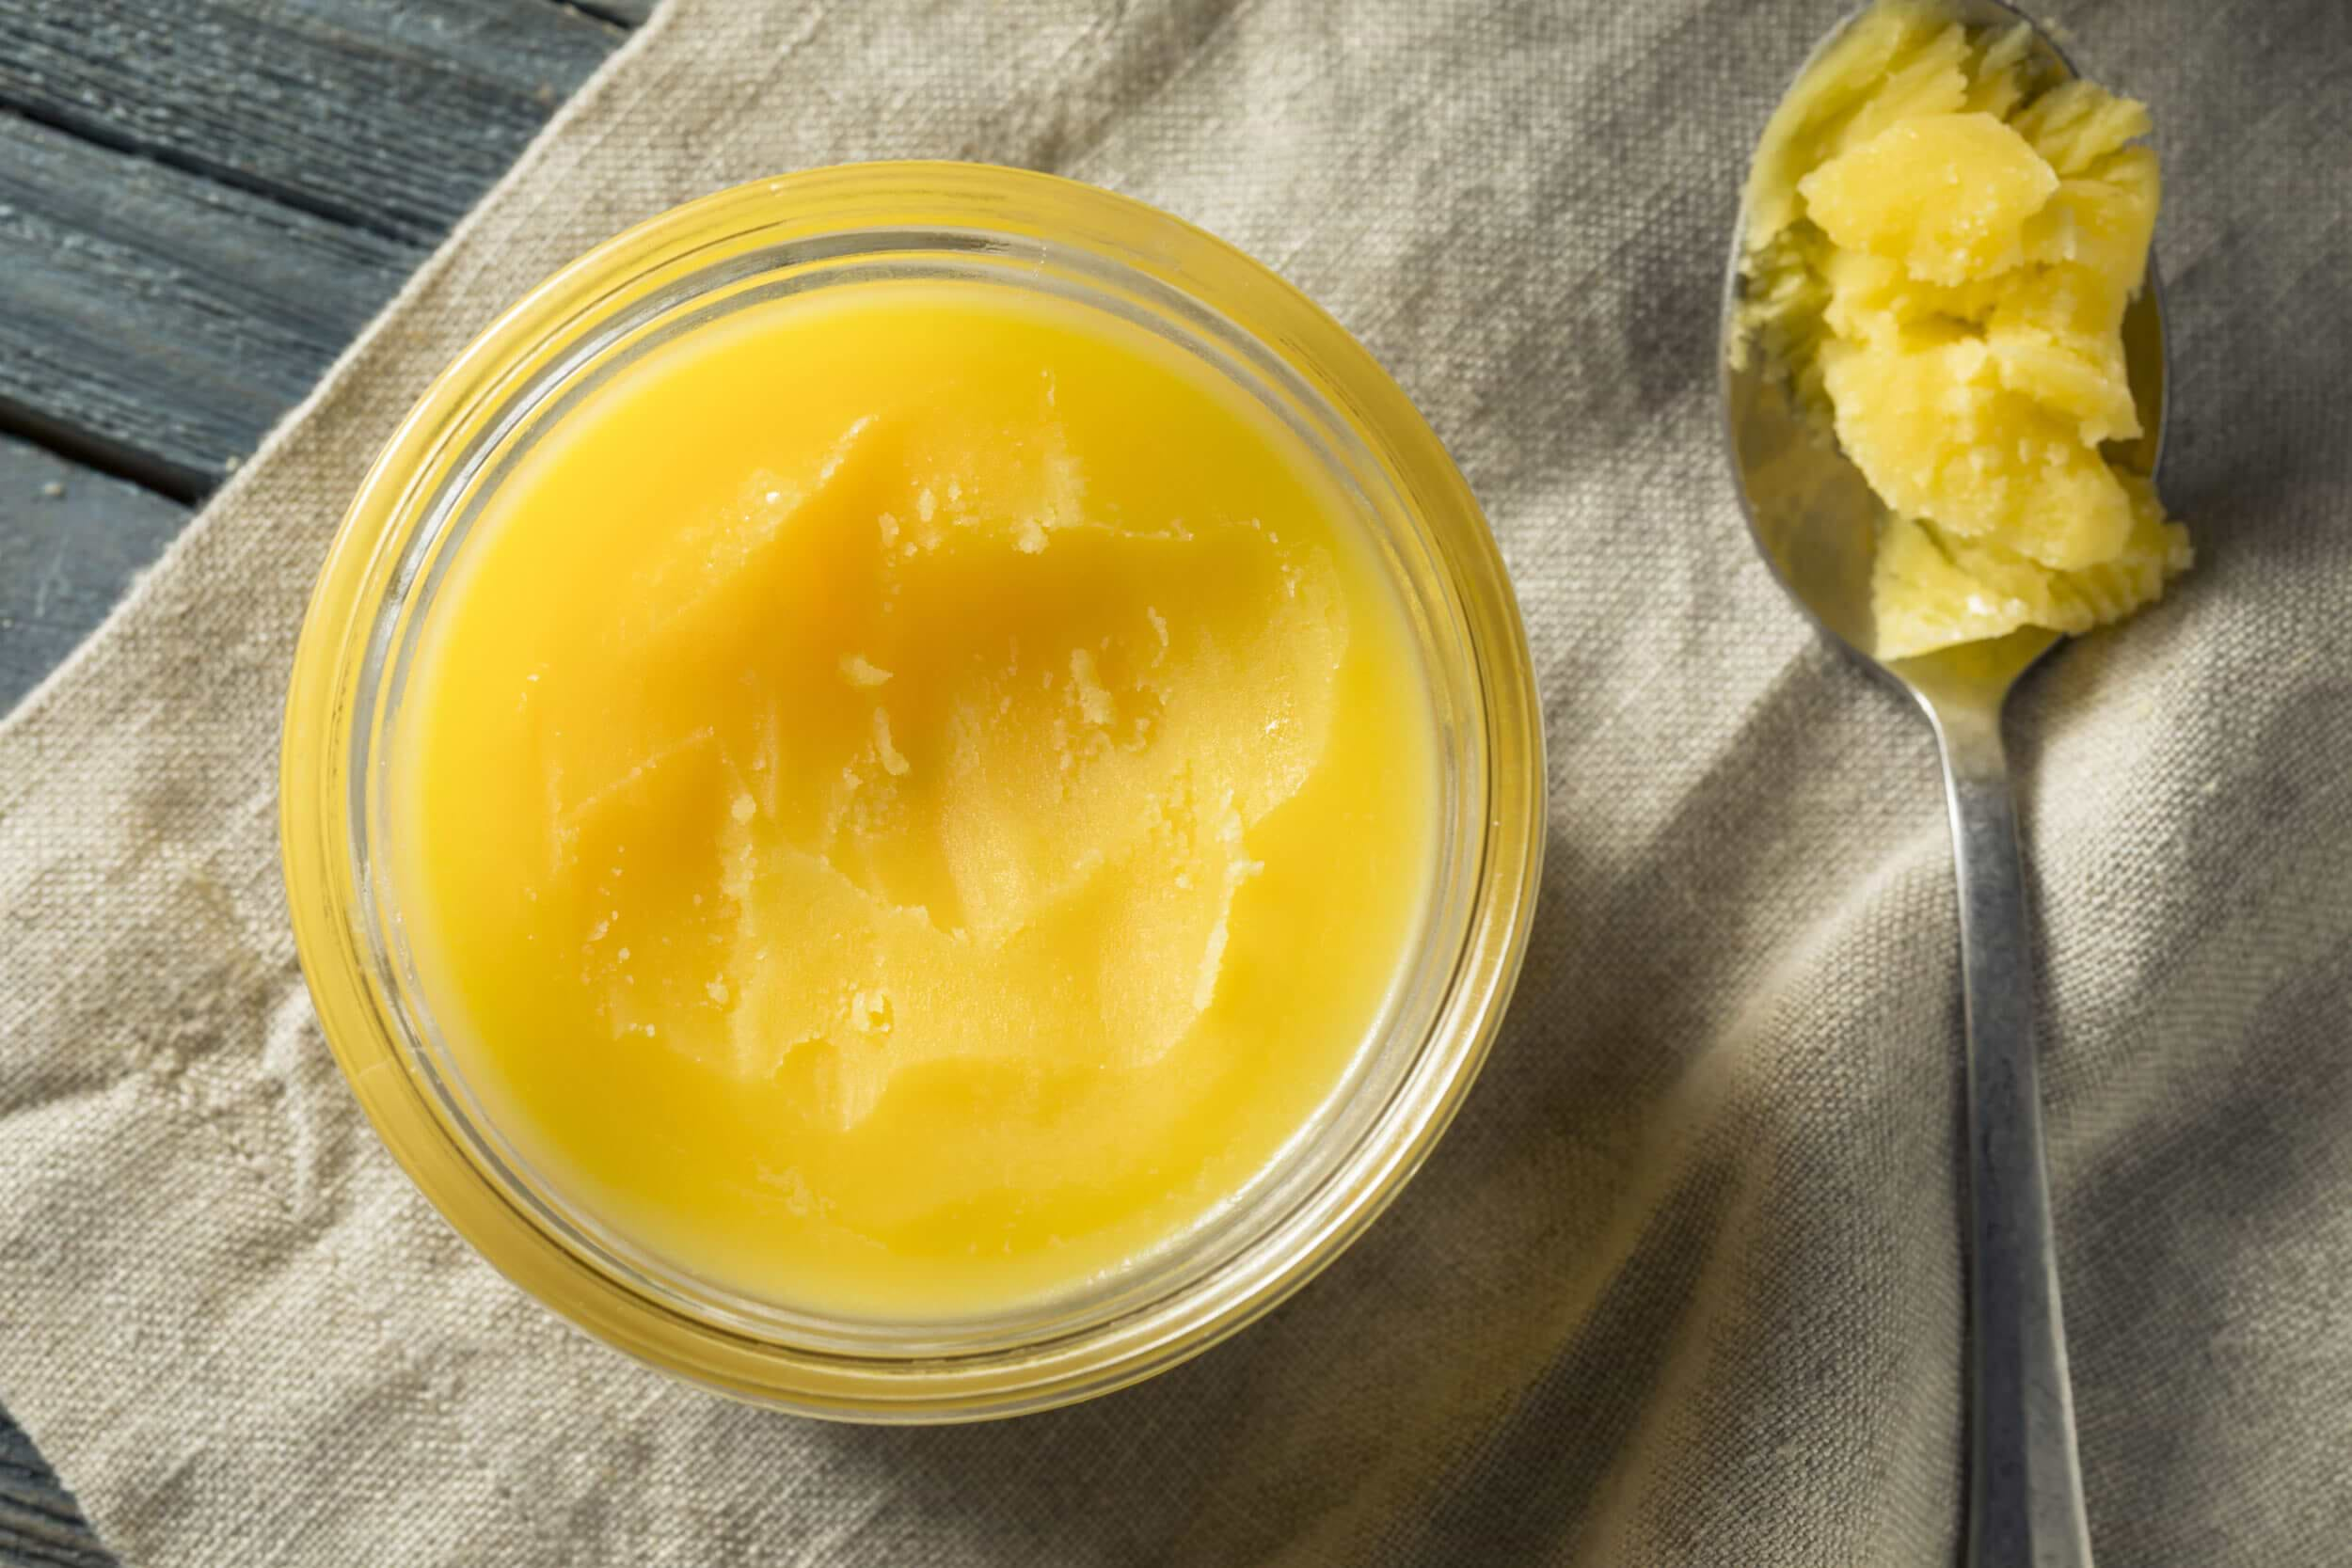
Ghee is simply cooked a little longer than clarified butter and has a richer, more intense flavour than clarified butter. You know you've got ghee when you see the little brown bits on the bottom of your pot and it has a fragrant smell and rich flavour. I talk about this more in my video so you can know what to look for when you stat making it!
Don't be intimidated making your own ghee though. If you can melt butter, and you've got patience, you can make ghee! But I totally get it, if you don't want to spend 20-30 minutes at your stove, well then just buy store-bought. There's nothing wrong with that!
Just be careful when you start making ghee because it heats up quickly and you don't want to be boiling the crap out of the butter! You'll lose more of the nutrition that way. Sure, the water from the butter will evaporate quicker, but it should only take 20-30 minutes if you're making ghee on a medium-low temperature.
Just a caution, if you are allergic or very sensitive to dairym then it's best to not eat ghee because you can't be sure that 100% of the casein and whey has been removed, even if you strain it 5 times!
Most importantly, here's the recipe!
*250g of butter, yields 1 cup of ghee. If you use more butter, you'll have more ghee!
The whole process to make ghee takes 20-30 minutes. Please read all the instructions before you begin to make the process run smoother. I recommend using a stainless steel pot so you can clearly see the bottom of your pan and can easily determine when you've got ghee because you'll see the little brown bits at the bottom.
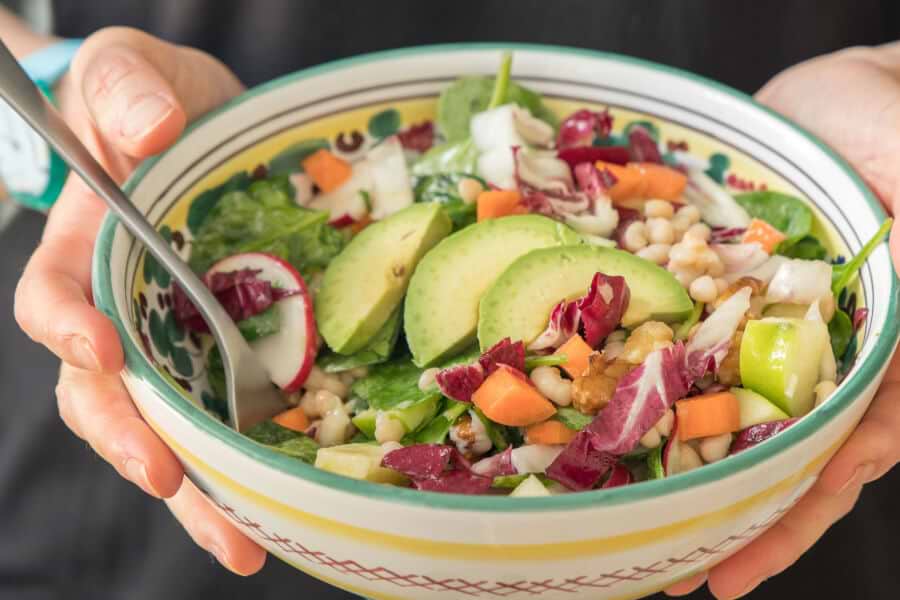
There are many delicious ways to enjoy ghee.
ADVERTISEMENT
How to store ghee
Ghee can be stored in the kitchen cupboard away from sunlight for up to 3 months. I typically store it in the fridge though because then it lasts up to a year. It gets harder in the fridge of course, but softens up pretty quickly. It can start to crystallize at the top, but this is normal – no need for concern. It sometimes has a grainy texture when you make it yourself – also normal, so not to worry :).
If you have any questions, please post below. Happy Ghee-making!
xo Joy
Thank you for this recipe Joy. I am on a ketogenic diet since the beginning of August and many recipes mention the use of ghee. Will definitely try making this for future use. Have been following you and really enjoy your recipes and blogs...
ReplyThanks so much Heather! Yes ghee is an awesome addition to a keto diet :)
A suggestion for a much easier way to make ghee I learned from a French master chef. Place the butter into a plastic bag then into a pot of water to melt. Once melted put into refrigerator. When butter becomes hard the milk substantance remains liquid. Simply cut a corner of the plastic bag the milk liquid will drain out leaving you ghee. You may need to scrap more milk produce off the hard butter but it will be minimal. Give it a try.
ReplySounds like a great hack, the only thing I don't like is putting it into a plastic bag and then into hot water. Thanks for the suggestion though!
I am an Ayurveda doctor and you mentioning it here made my day! Adding to all this, ghee is great brain food! In Ayurveda, herbs are added to ghee with water and boiled, that way all the water and lipid soluble extractives go into the ghee and make it a very potent medicine. P.S. The brown bits taste yummy with a little bit of sugar.
ReplyGreat to know about eating those brown bits! I'm going to save them next time. Thanks for your comment!
Question-if you had your gallbladder removed, would you consider this a healthy fat?
ReplyI think it's important to talk to your natural healthcare practitioner about what fats are best to eat. Also, when eating fats without a gall bladder it would also consider a digestive enzyme. But again, best to talk to your own nutritionist or ND. Hope that helps!
Since I retired, 20-30 minutes is nothing to me, and making my own ghee is much more economical (about 1/3 to 1/2 the cost) than buying it pre-made. I have some of that in my long-term storage pantry, but would love to make my own to use in recipes calling for butter. Since my vegetable garden was destroyed by parasitic nematodes this year, my canning jars are just sitting idle anyway...
ReplyOh how terrible, sorry to hear your veggie garden was destroyed, what a bummer!! You're right, it's definitely cheaper. It's nice to buy for convenience but if you've got time then it's enjoyable to make and always a bonus to save some $$$. Enjoy the ghee-making-process :)
I once read the ghee smells quite horrible.....is that true? I’ve never tried it - interested, but a bit scared if true.
ReplyNo not at all, it smells delicious actually! It has a bit of a cheese smell but to me, that's yummy :)
Thanks! Had no idea it was so easy. I read a few recipes that said it should cook for a long time so I thought it was a tedious process.
ReplyWell of course, some people do it for much longer. It's really up to you. I've always followed the 20-30 minute method with great success.
Hi there wondering about a healthy pots and pans.......what brand do you use :)
ReplyI have Kitchenaid stainless steel pots, All Clad fry pans and Le Creuset baking dishes. I love them all!
Thank you for clarifying use of ghee. Recently started using it. At some point I am going to try to make it. Thank you Joy😊
ReplyYou're welcome Irma! I hope you make it, enjoy!
Thanks for sharing this great ghee recipe. I like the info about the brown bits as I think I may have made clarified butter only 😊. I used to work at a theatre and I’m remembering the bubbling butter that was probably turned into ghee and takes delicious on popcorn. Quick questions - how shall I add the herbs to the ghee? Thanks!
ReplyMy pleasure! You can add the herbs in once you've removed all the dairy protein. They settle to the bottom right away so as it solidifies you'll have to stir them every so often.
Is ghee healthy when you have heart problems ?
ReplyI would recommend you speak with your natural healthcare practitioner but yes, it should be fine.
I made this today and it turned out just right! Thank you! I was apprehensive at first, worrying I'd do something wrong (I'm still afraid to make sauerkraut, thinking I might do something wrong and get everyone sick!). Your youtube video of this recipe was just the push I needed to try it. I didn't have the heat high enough at first, so it took just a little longer but I was patient and watched for those browned bits and was it ever worth the wait! Thank you again!
ReplyYay glad you tried something you were apprehensive about! And that's totally okay it took a little longer. It's so delicious!! I've actually been thinking about doing a video on how to make sauerkraut, perhaps in the new year because it's so easy!
Ghee doesn’t need to be frozen it keeps for hudreds of years without even a fridge.
ReplyWell that depends who you ask :) I err on the side of caution but if that's what you want to do, I say go for it!
I’ve been making ghee in the oven in my Le Creuset (uncovered) for over 10 years. So easy and I just leave it alone and it comes out perfect every time. 250 degrees for 2.5 hours. I make a full pound at a time and I take it right out of the fridge or freezer. I don’t even cut it up anymore. The whey proteins sink to the bottom and I never skim. After it cools a bit. I strain it with a metal screen strainer lined with unbleached cheesecloth. I go through a pound or more per month so I just keep it in my pantry. This is liquid gold in my house.
ReplyThat's amazing you've been making it for many years! I love your method!! Thank you for sharing.