


Welcome to thoughtful, organic beauty
Hello Joyous is an organic, plant-based, sustainable beauty brand here to bring more joy to your day.


As a professionally trained private chef and holistic nutritionist, my job consists of going into people’s homes and cooking deliciously healthy meals for them; and as such, meal planning and prepping is a part of my daily life. But in conversation, I’ve come to discover that people find themselves overwhelmed by the process of planning and executing meals consistently week after week. This leads to people turning on their heels and dialing for delivery; and if you have wellness goals you are trying to rise to, a delivery habit is likely holding you back.
No matter your skill level or the amount of time you have to spend in the kitchen, you too can meal prep like a pro. It’s as easy as following a few simple steps.
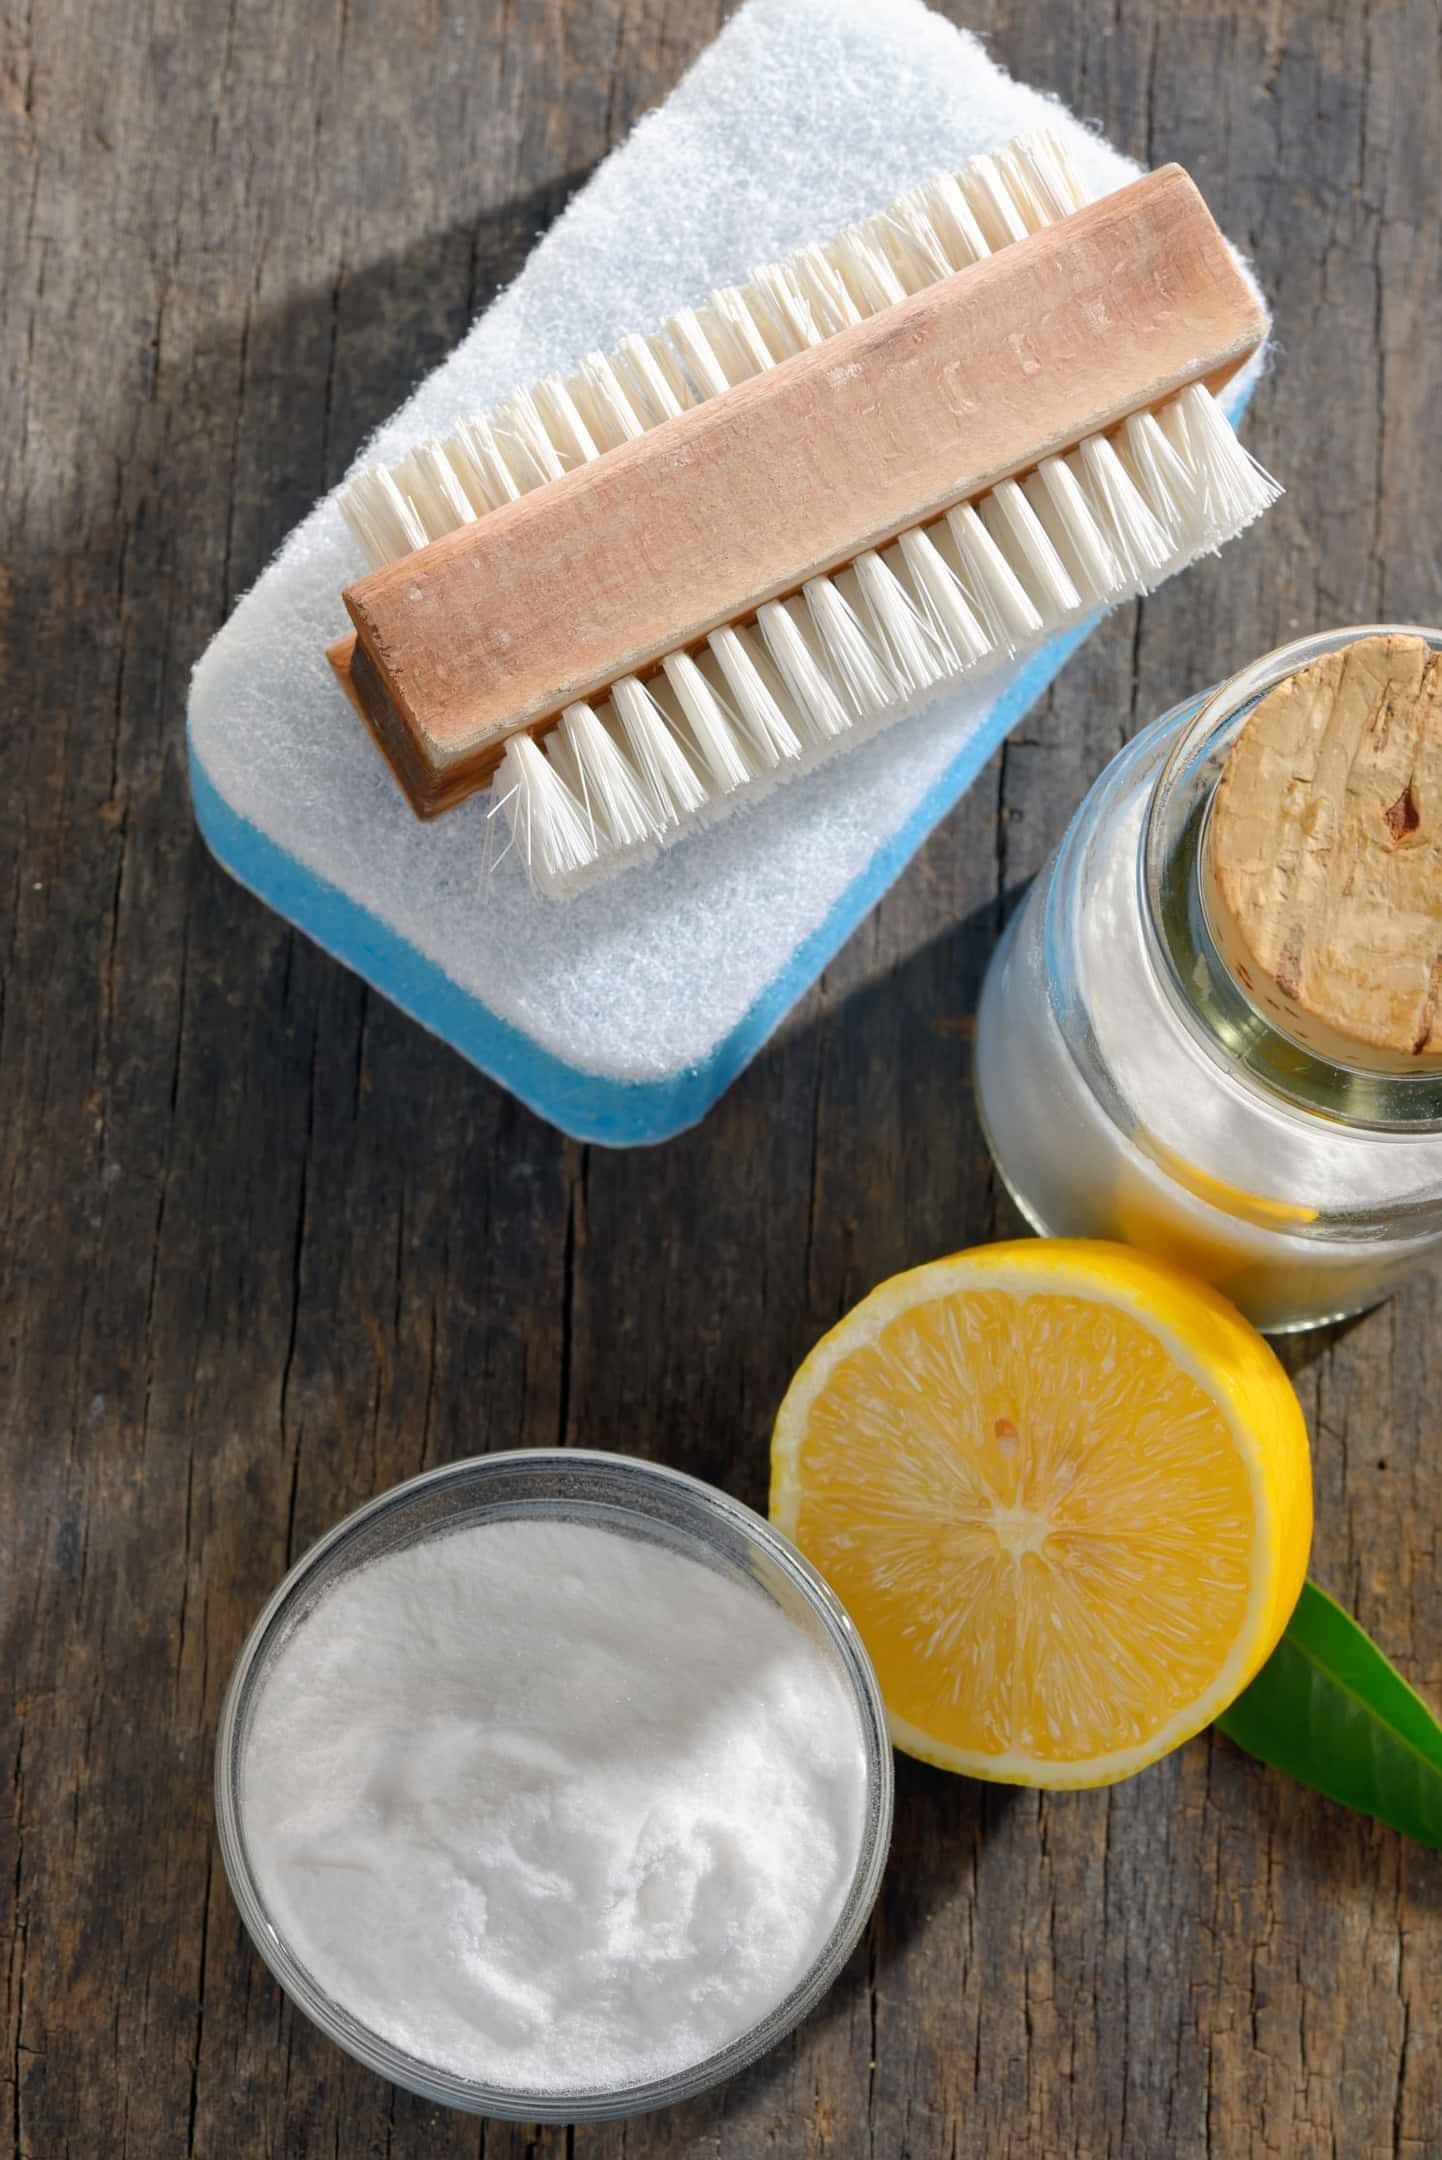
Step 1: Clean and Organize Your Kitchen
Have you ever opened a cluttered drawer in your kitchen and thought ‘NOPE’, closed it and moved on to something else? This is what happens to your meal planning endeavours when your kitchen is cluttered. DO NOT SKIP THIS STEP, because this is the most fundamental step of the lot.
Think about it this way: do you want to work in a disorganized kitchen that frustrates you, or in a kitchen where there is space to store items, where everything functions fluidly and that feels joyous to be in? You decide.
But the first thing I do when I start the day in a new client’s kitchen is organize and tidy, because that's what is going to fuel the most inspiration during your cooking endeavours!
If this list overwhelms you, feel free to break up the cleaning into a few days to remove some of the stress associated.
Clean and organize pantry, refrigerator, and freezer
If it’s old, you can't identify what it is, or there is an inch left, throw it away. Do the same with your utensil drawers (all of them!), being mindful to remove anything that no longer works.
Organize your workspace so that everything is within arms reach
Much time is wasted going back and forth to grab items needed to prep. If it’s within your reach, you will ultimately save time!
Store food in clear storage
This makes it easy to identify and to prevent multiple purchasing of products.
Be consistent
Do weekly and monthly audits and cleaning to make sure you know exactly what you have. You save money when you use what you have instead of buying multiples of one item.
Step 2: Get Your Kitchen Equipped
Once you've cleaned, gotten rid of the clutter and excess, you'll know where the gaps are and what you'll need to complete your kitchen set up.
Get everything you need to facilitate ease of prep
When you have all the tools you need to create, all you need are some ingredients and some inspiration and you're set!
Don’t get distracted by fancy gadgets
Get the basics needed to make meals and add to your collection as you develop your meal prepping muscle. For example, getting a blender or food processor is more important than getting a juicer.Prioritize! :)
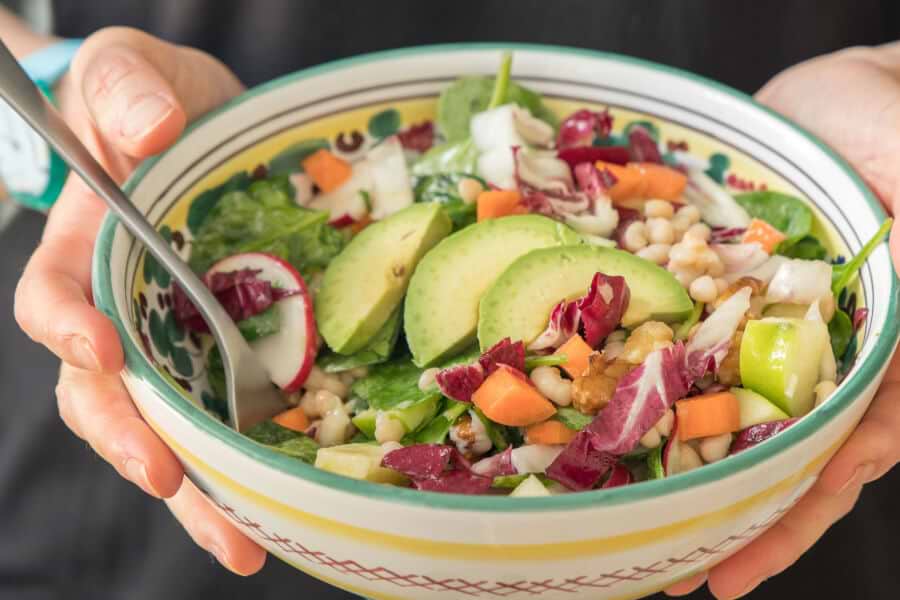
Step 3: Recipe Selection
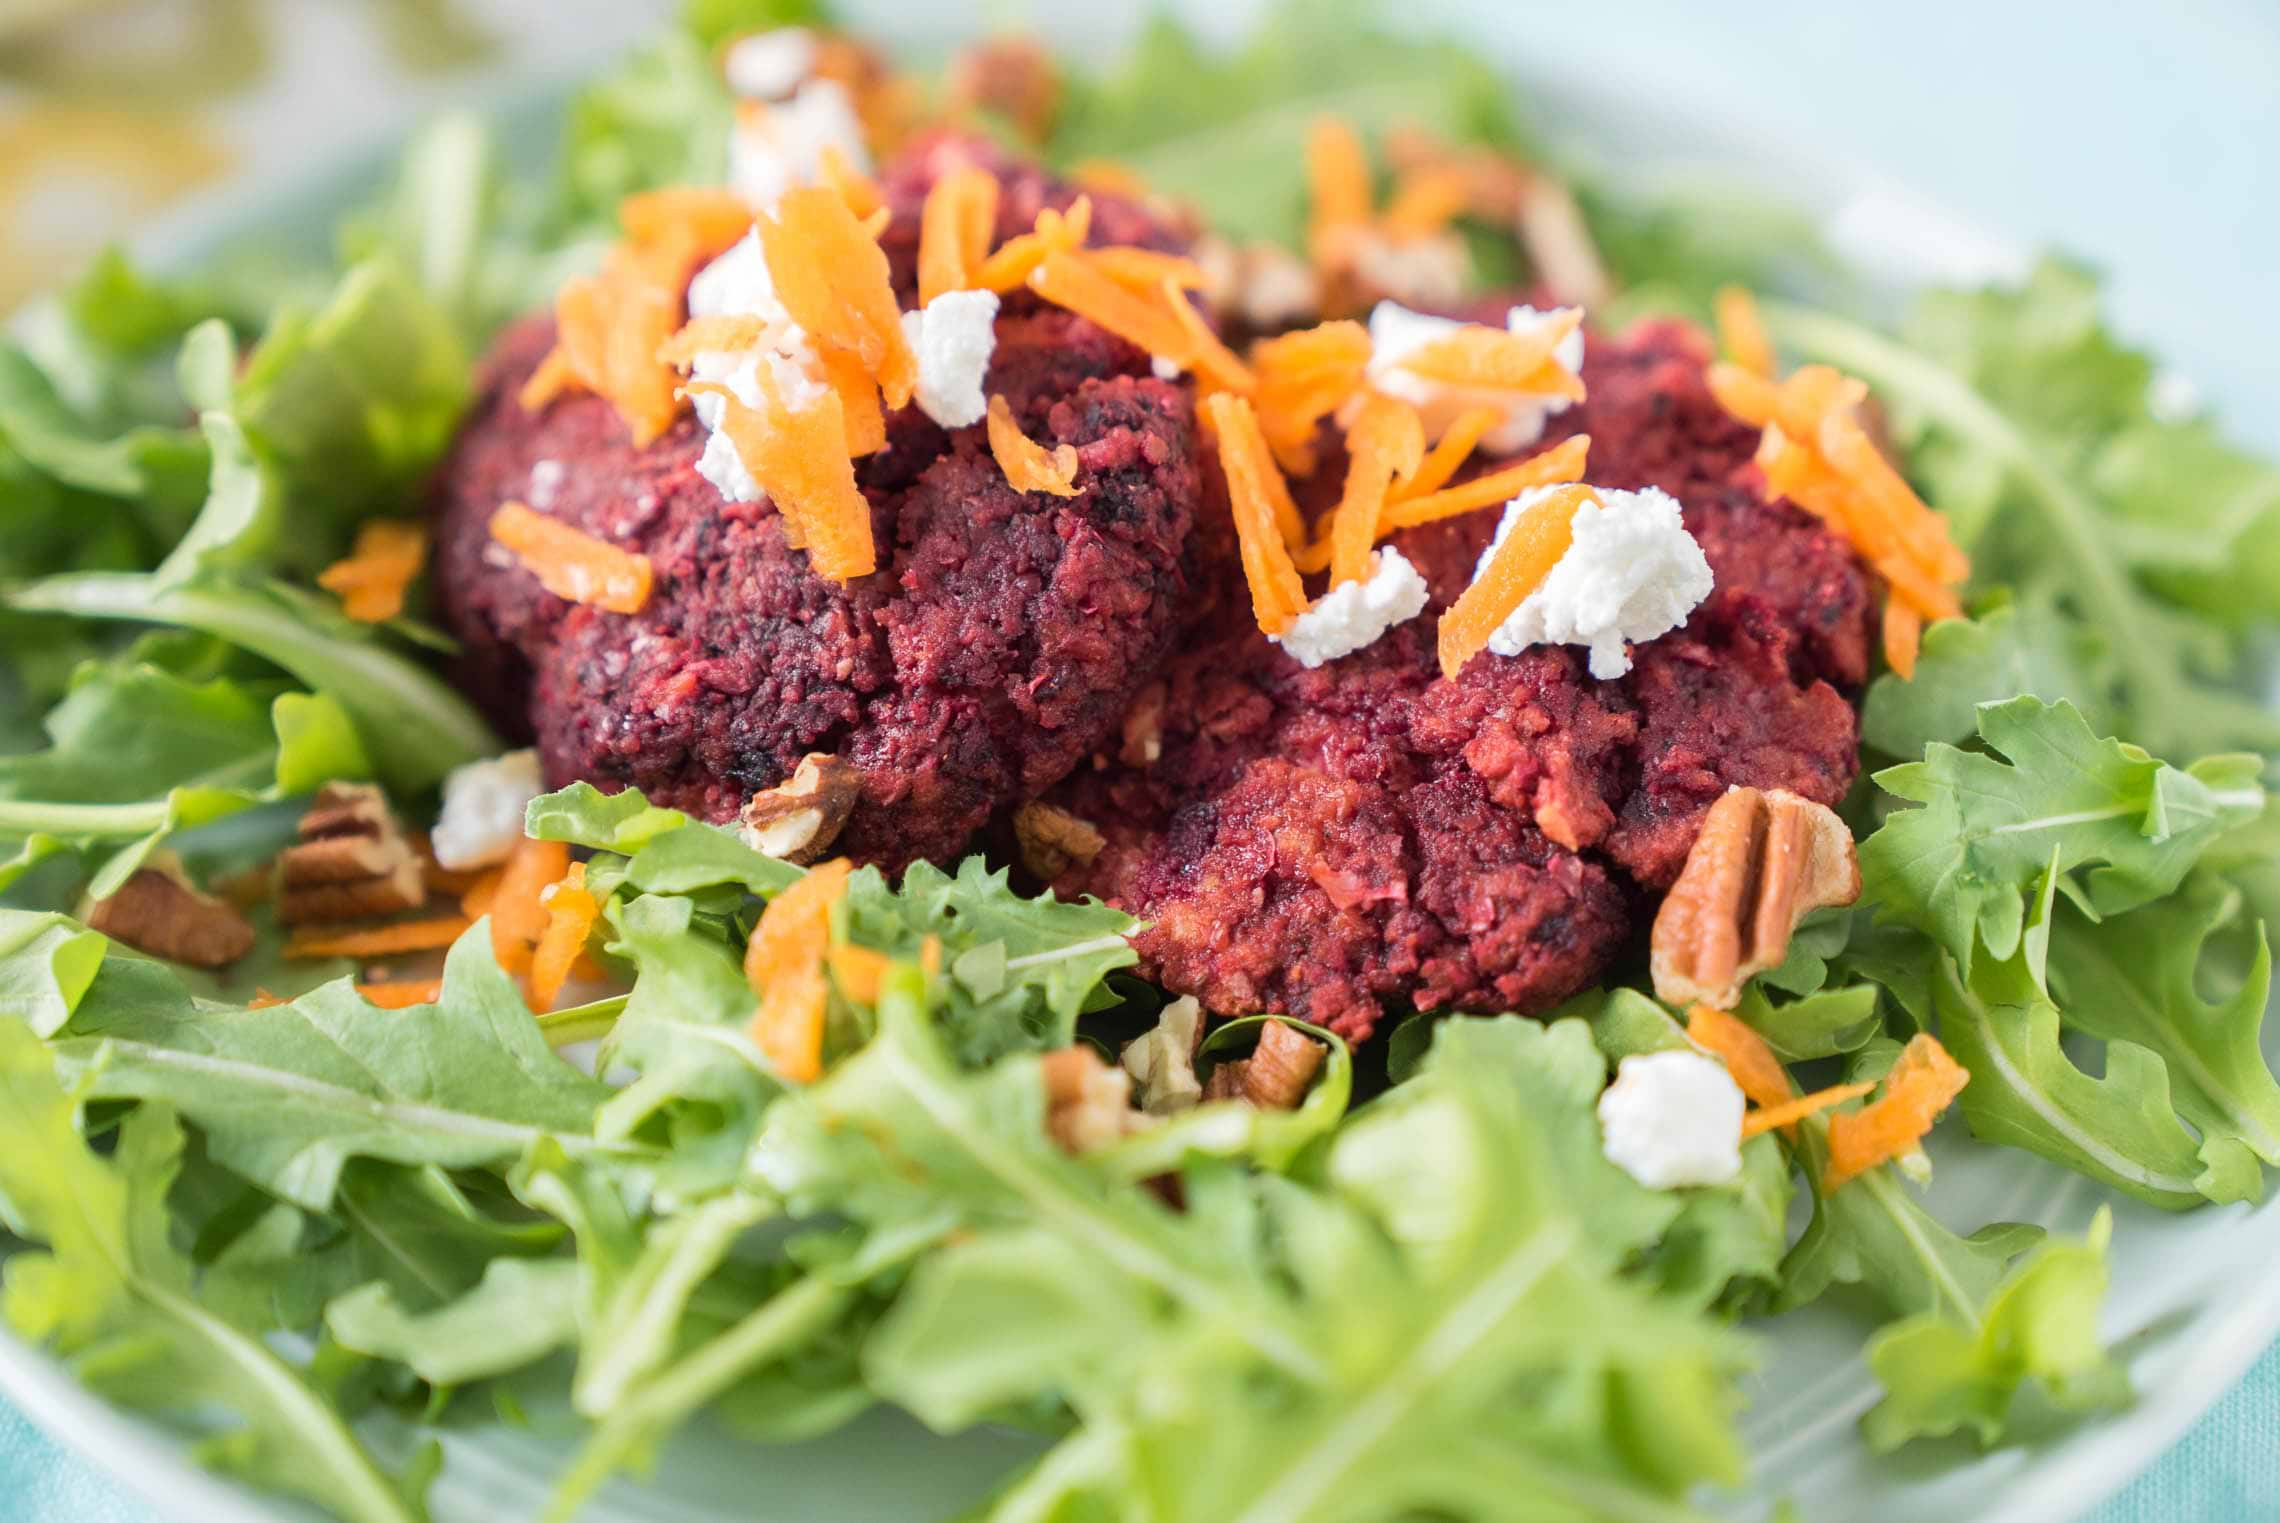
Something I see often is people who choose the hardest recipes (aka the ones with a million steps) in their first attempt at meal planning. Try NOT do this. Start with recipes that you can get your head around with techniques you already know. If you are a complete kitchen novice, start with recipes that are less than 6 steps. Anything more might make you feel overwhelmed and want to quit.
Start with easy
Look for recipes that can almost entirely be made ahead. This will build your confidence in the kitchen.
Find common ground between recipes
Look for ingredients that can be used across many meals, with each meal still feeling fresh and new.
Get playful with sauces
This is how you make similar ingredients taste completely different.
Practice a new technique every week or month
This will keep things interesting, fun and keep you super inspired!
Step 4: Bulk Prep
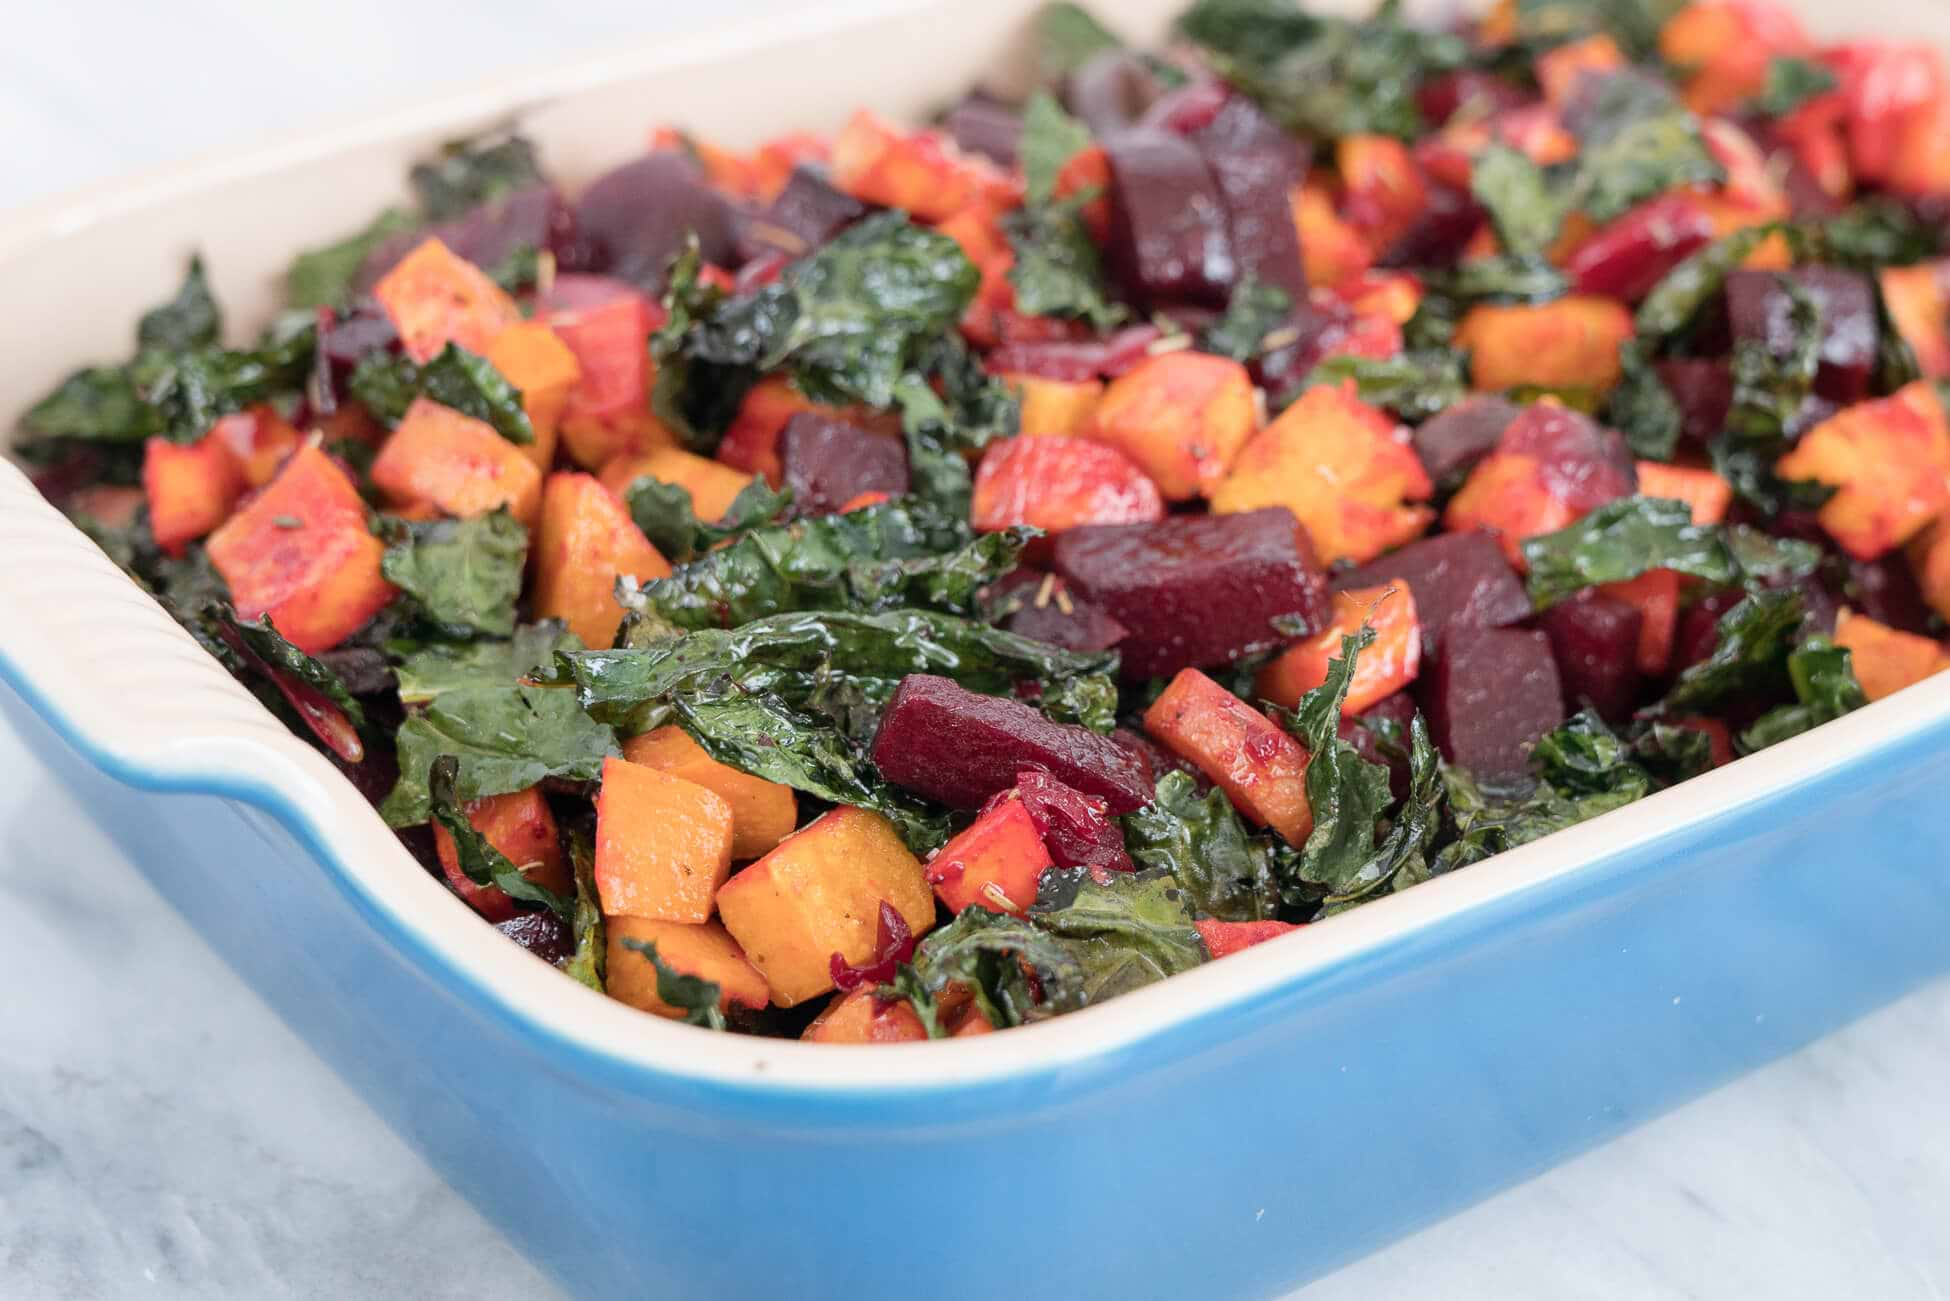
This step should, in fact, be called “Make Ahead”, because not only is it helpful to make things in bulk, it's also handy to have it prepared ahead of time. This is singlehandedly the most time-saving hack in the kitchen. Be strategic about what you make ahead because some things will not freeze and thaw with the same texture integrity; so focus on things that will keep in the fridge or freezer, or those items that require time to prepare like long cooking vegetables, grains and legumes such as beets, wild rice or lentils.
Make Foods In Bulk
Toasted nuts and seeds, grains, legumes, pasta, sauces, dressing, smoothies and certain baked snacks can be made in bulk, frozen in portion sizes and used throughout your meals in no time.
Get Your Freeze On
Freeze sauces and dressings in ice cube trays or small clear airtight storage containers. Once frozen, pop out and store in labeled freezer bags.
Store Food Appropriately
Store pasta, grains, and legumes in portion appropriate zip lock bags.
Prep Your Smoothies
Prepare 2-3 smoothie recipes and freeze in ice cube trays. Once frozen, store in labeled freezer bags.
Storing Meat
Season, marinate (do not season with salt, it will break down the meat), bread and sear meats, wrap tightly with plastic wrap and freeze. To cook, place directly in oven or whatever heat source you’re using.
Now to put it all to the test ... with my Cashew Chicken Curry with Cauliflower Rice! This recipe was a client
This recipe is a client favourite! They loved that I made loads of it and froze some of the extra sauce so that they could have an emergency meal in a pinch.
The beauty of this recipe is that it’s an exercise in all the aforementioned steps because it can be made ahead, frozen in portions and it’s easy as all get out to prepare!
Additional Notes:
MAKE AHEAD: Prepare the sauce completely and freeze in portion sizes for an emergency meal served with (made ahead) rice.
VEGETARIAN: Substitute chicken for I can of chickpeas for the same meaty taste.
HATE CAULIFLOWER: Substitute your favourite rice for cauliflower.
NUT FREE: Substitute cashews for sesame seeds or tahini (sesame seed paste).
Bonus Make-Ahead Tip:
Don’t be wary of freezing food. If you freeze the right things, you can save yourself loads of time when it comes to putting together deliciously healthy meals. However, as a rule of thumb, it's best to use frozen items within a 3 month period. Be sure to label everything you freeze with the date it was frozen and what it is too!
For more recipes, join the How To Eat with Bianca Facebook Group!
Do you have any meal planning or prepping tips you would add to this?
Thanks this is amazing ! Bianca Do you work in Toronto?
ReplyHey Rosemary, She does :) You can find more about her over here: https://biancaosbourne.com Rachel - Joyous Health Team
Very good post Bianca. I have done all of the above for years...but...life has thrown us a few curve balls and now I feel frozen. I am now looking for inspiration. The Cashew Chicken Curry above sound divine. Will be trying this for sure. Thank you.
ReplyHi Sue, That will happen from time to time but trust that you can always just hop back on the wellness wagon and revert back to your healthy habits :) I'm super excited to make the Cashew Chicken Curry too! It looks amazing! Let us know if you end up trying it. Rachel - Joyous Health Team
Great article! The Cashew Chicken sounds delish, but the recipe seems to be missing the cashews. Are they just a garnish?
ReplyHey Erin! Good eye! We just noticied that too and had Bianca revise the recipe so you should be able to see the raw cashews now :) Rachel - Joyous Health Team